|
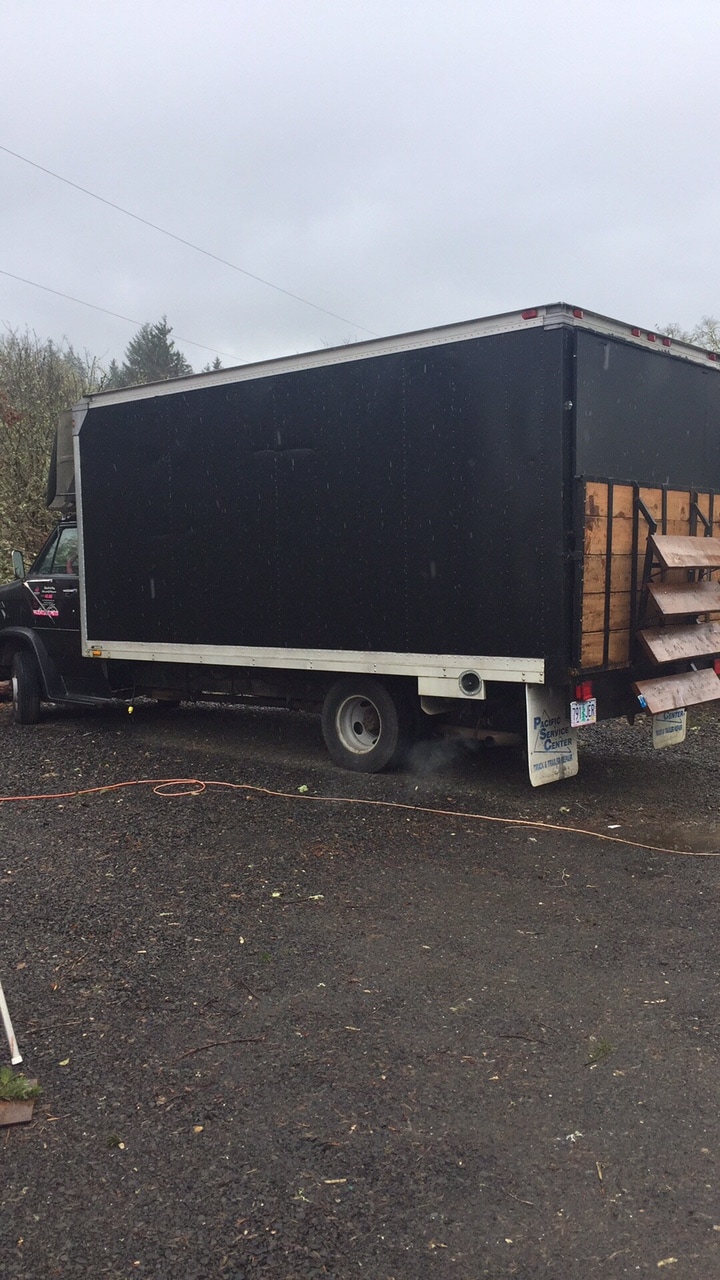
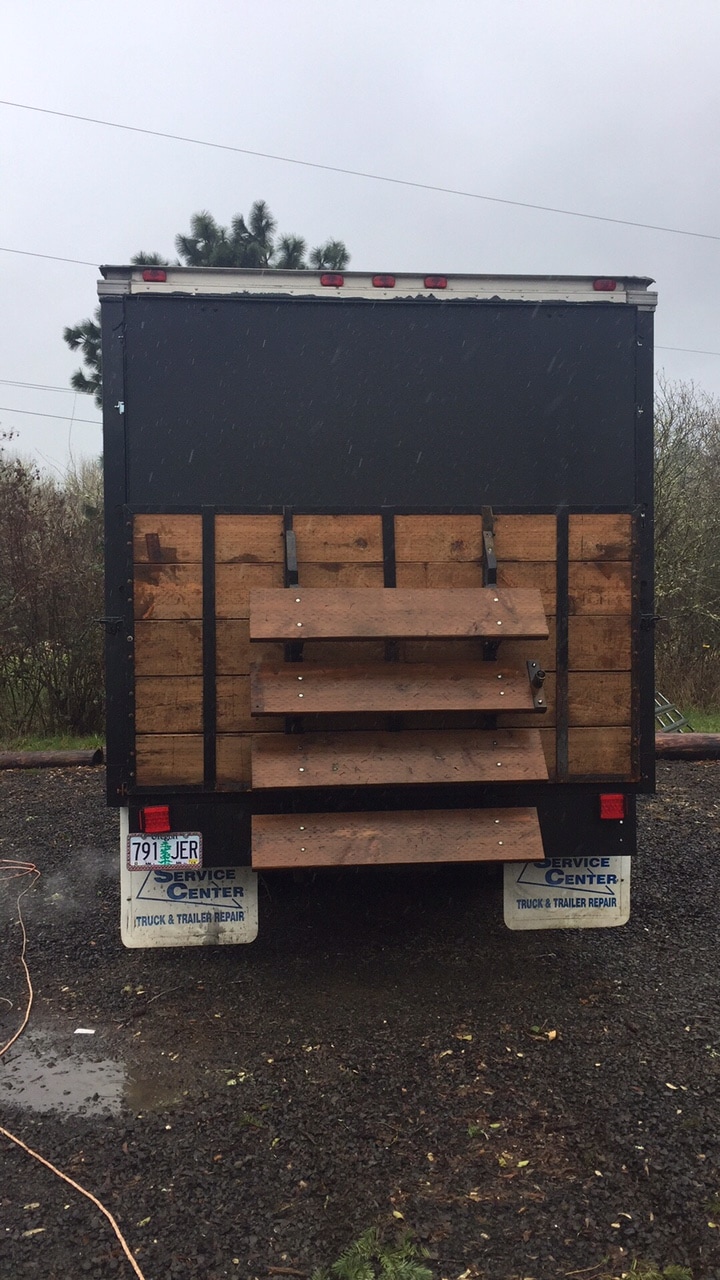
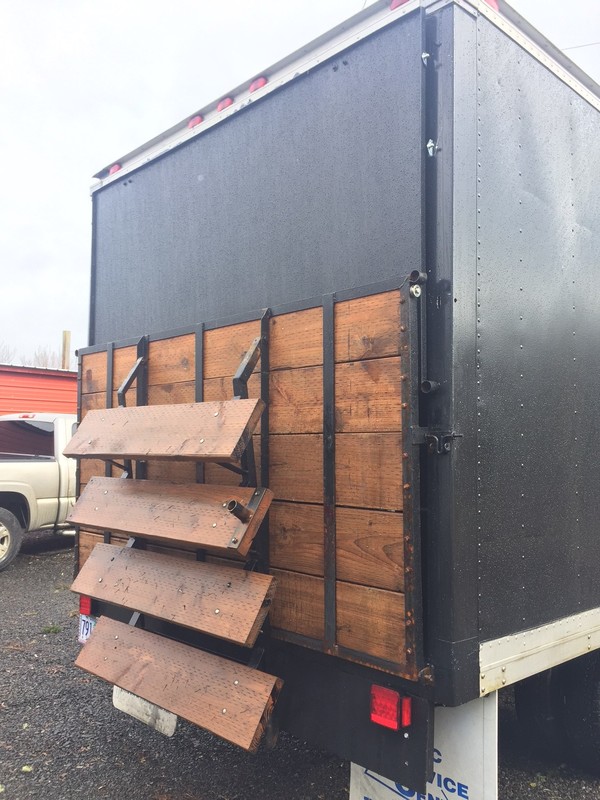
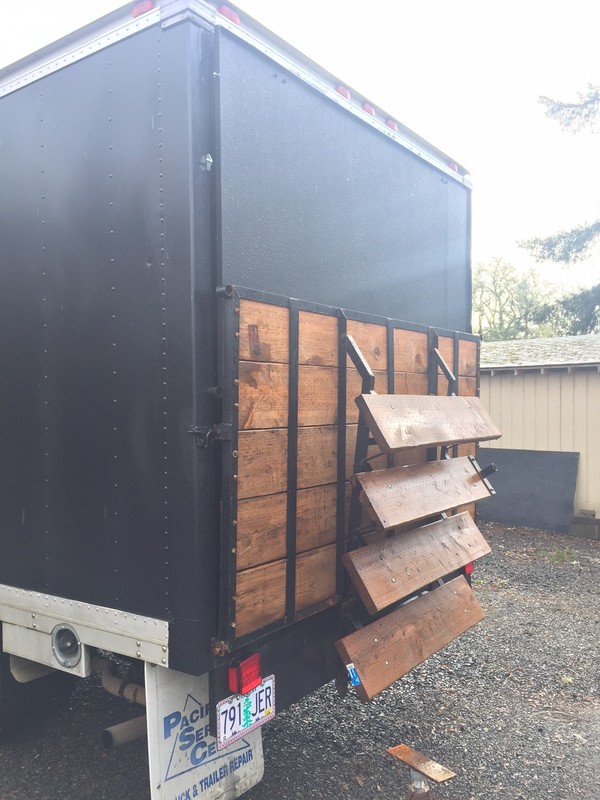
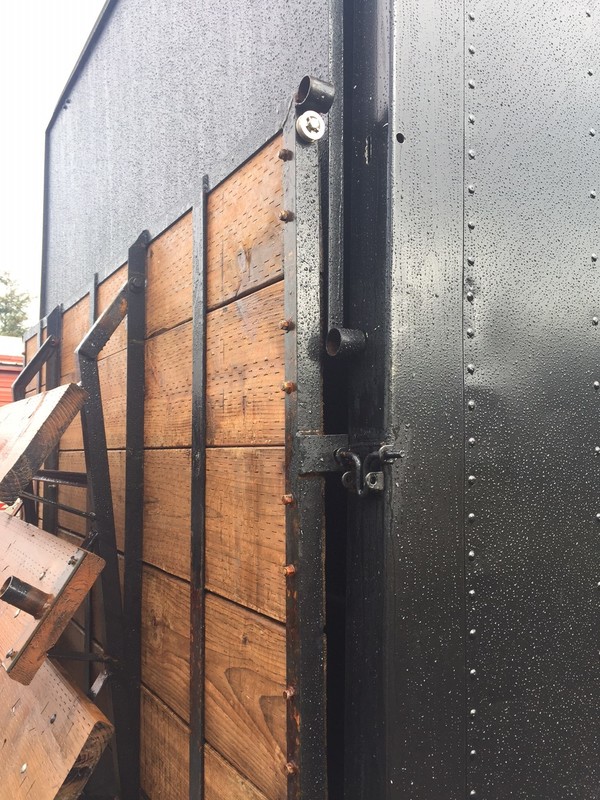
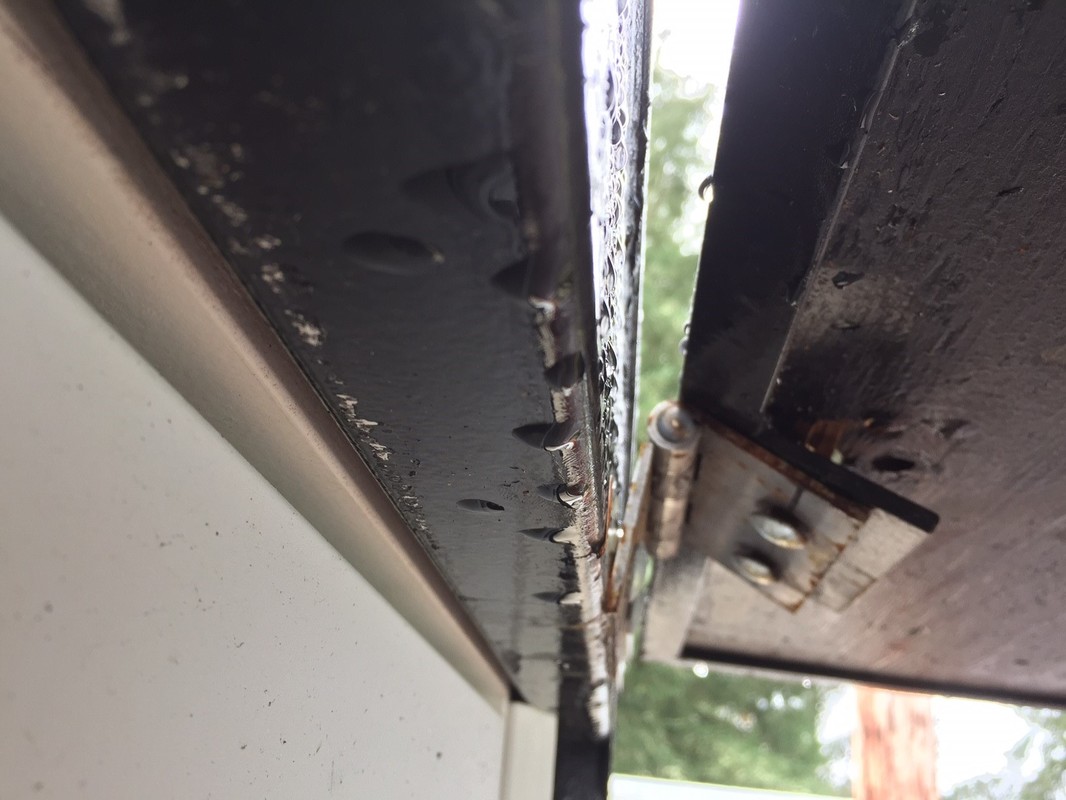
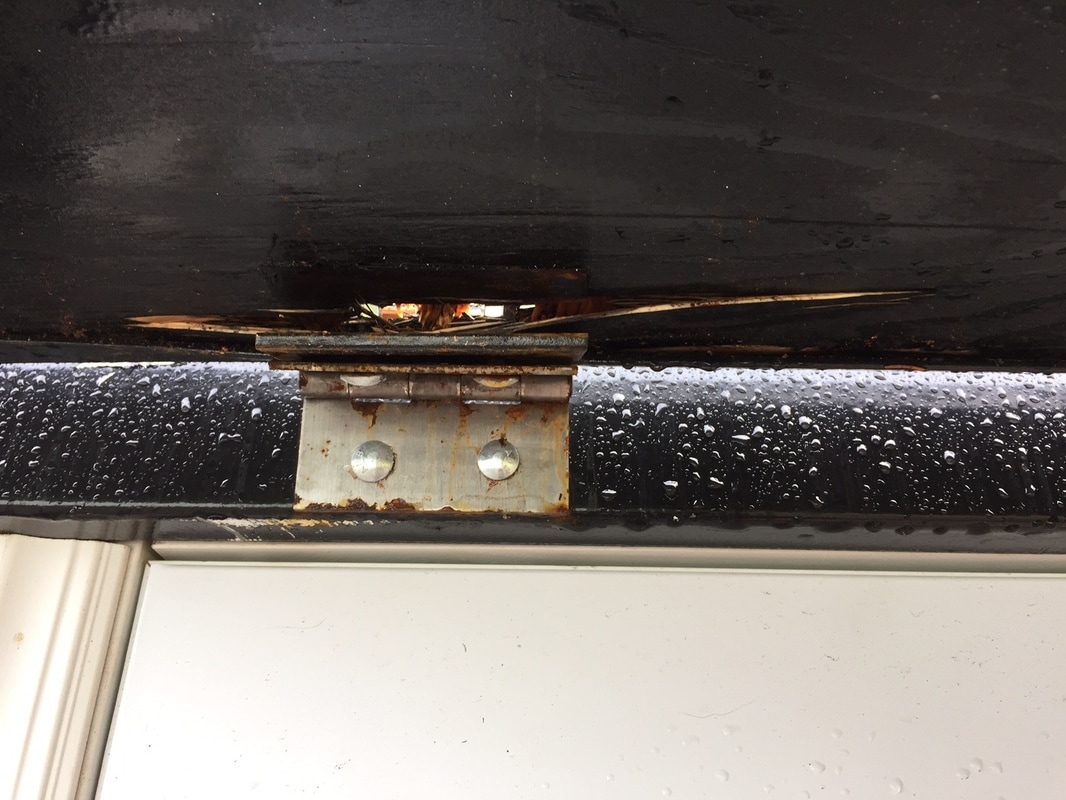
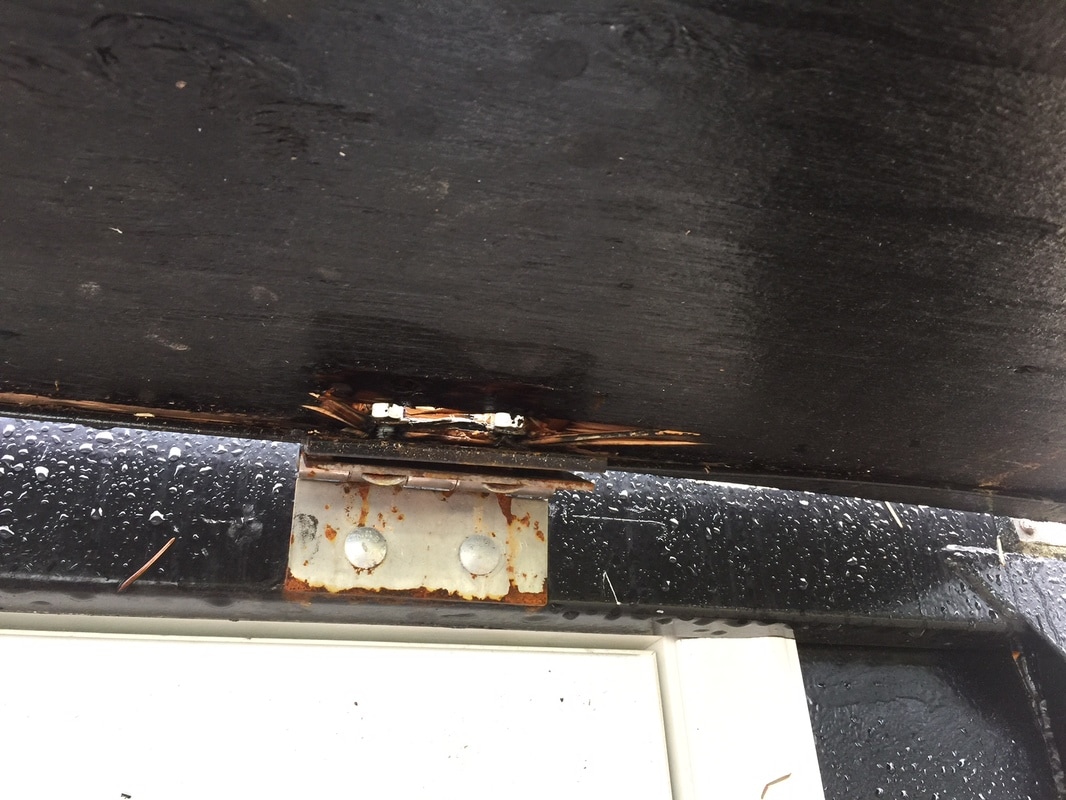
Last week we had a heck of a wind storm that damaged the awning on our truck so the fabricator came out yesterday to rebuild a new awning out of metal instead of wood this time. He got the awning done, but the hydraulic supports to help support the weight were not large enough so he has to come back out again to finish installing those. He is also going to fix the hand rails to make them a bit sturdier and when he comes back out to install those, he will also install a winch to help with the weight of the porch. Hopefully he will be out to finish it all up next week.
0 Comments
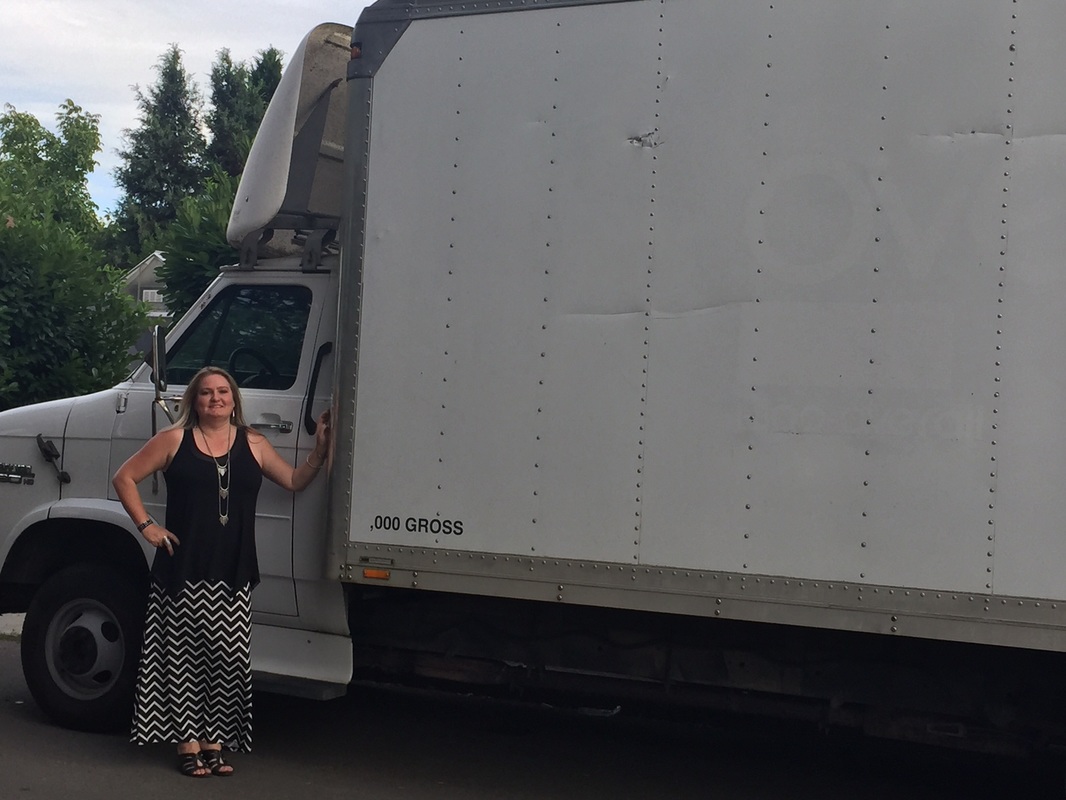
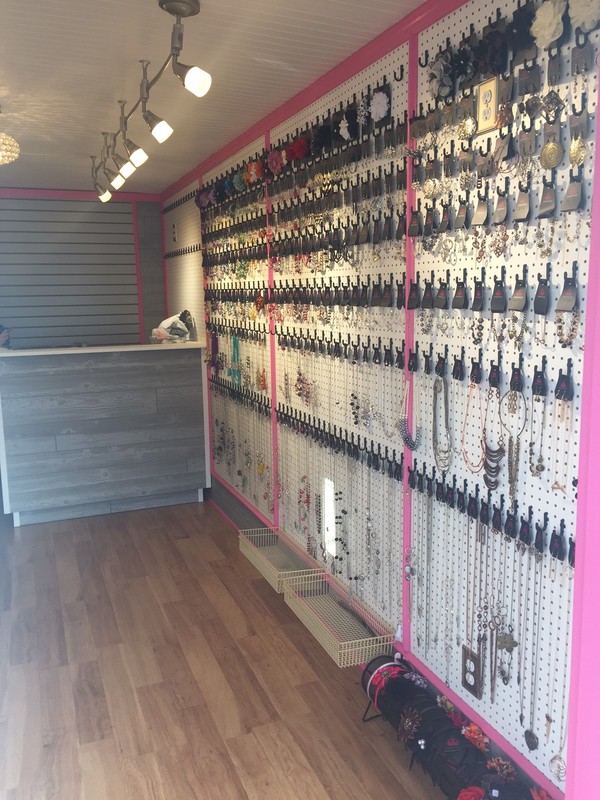
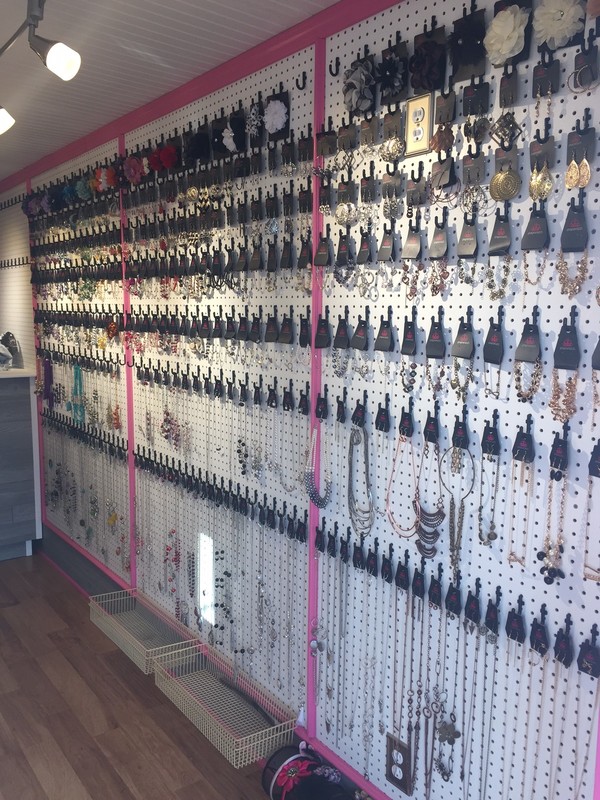
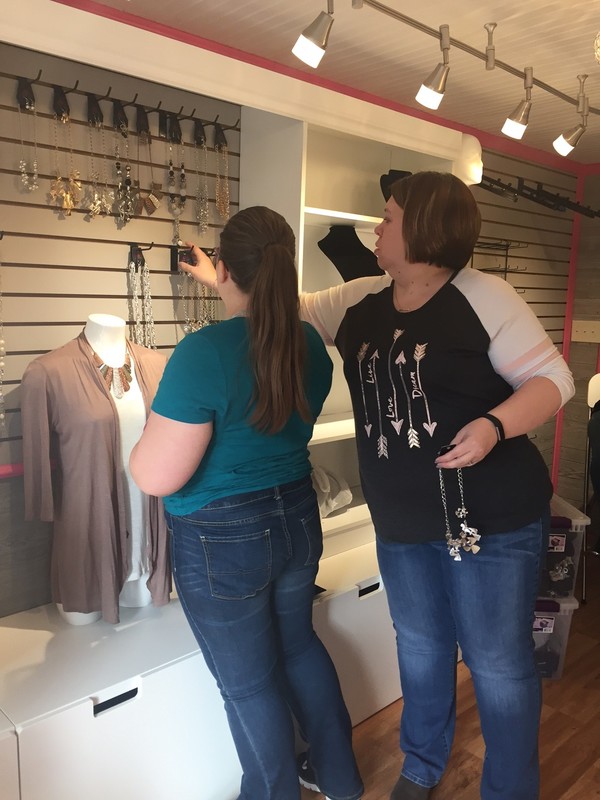
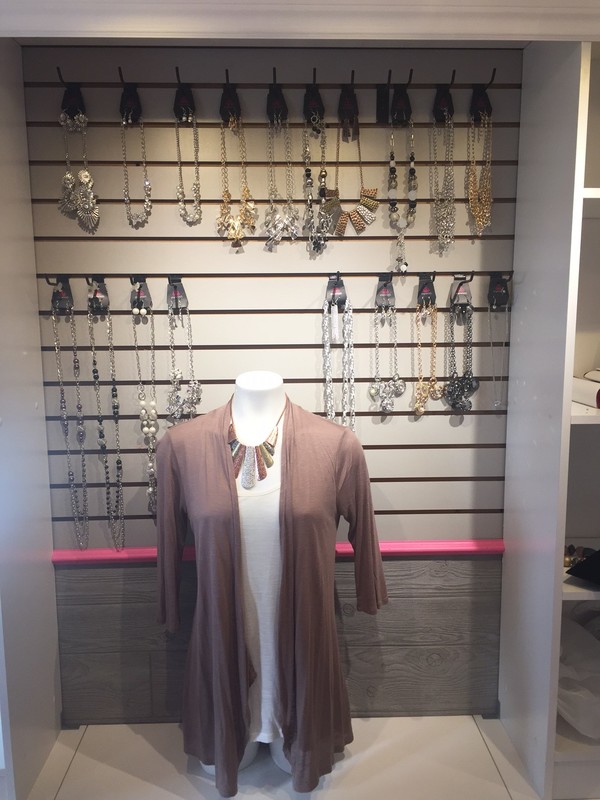
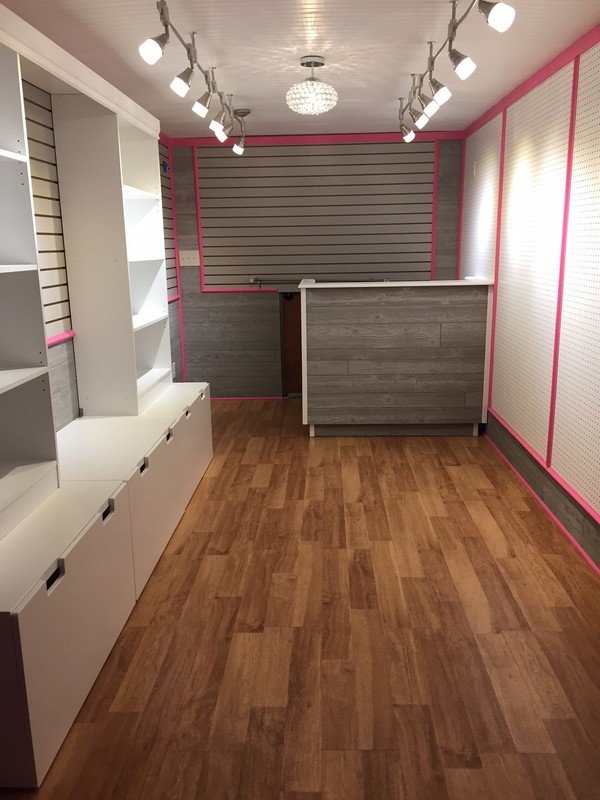
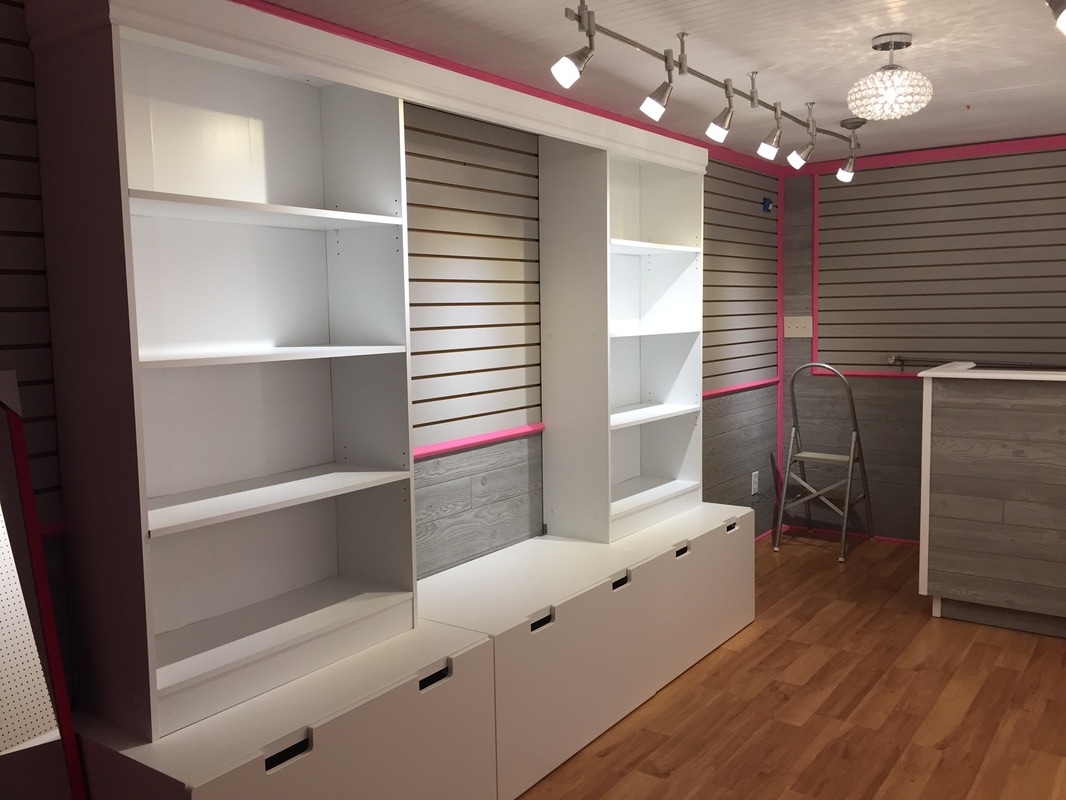
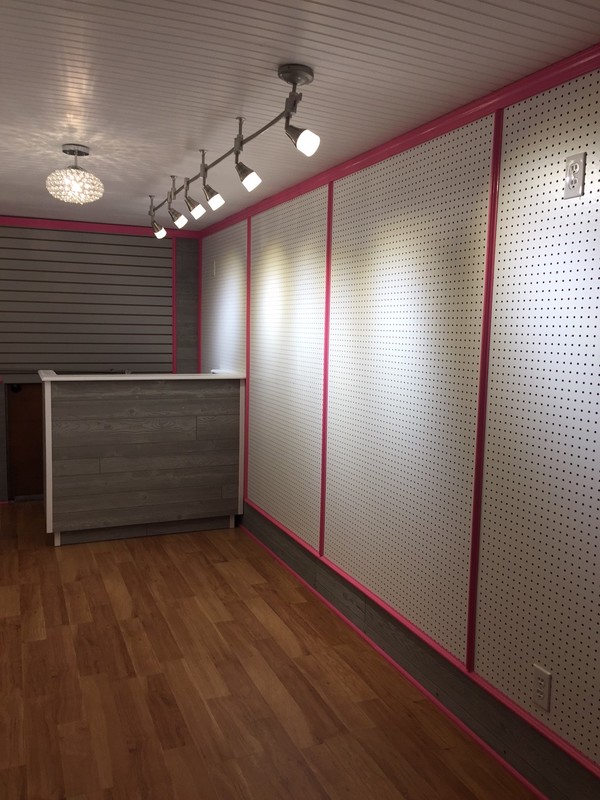
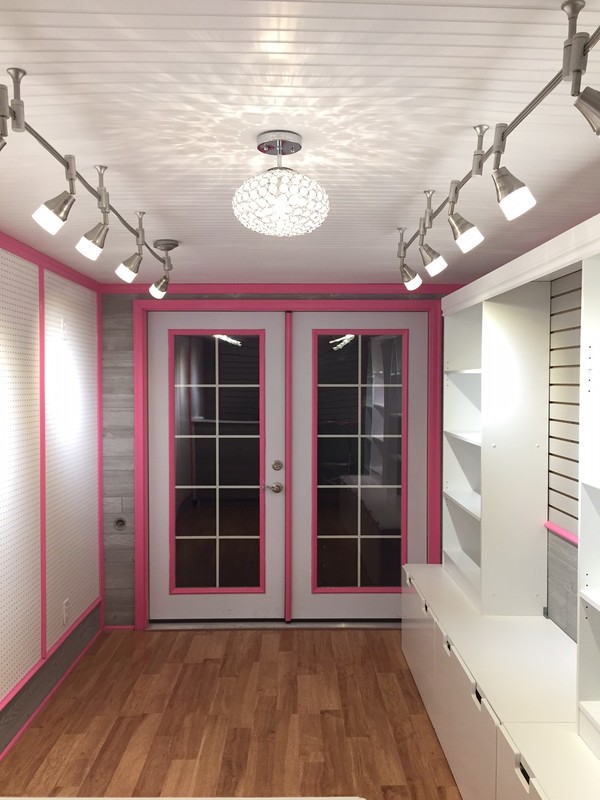
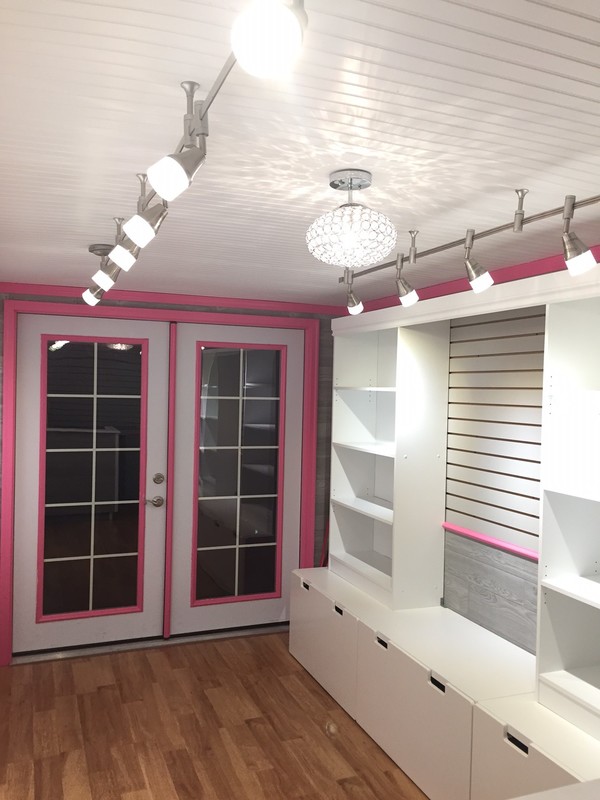
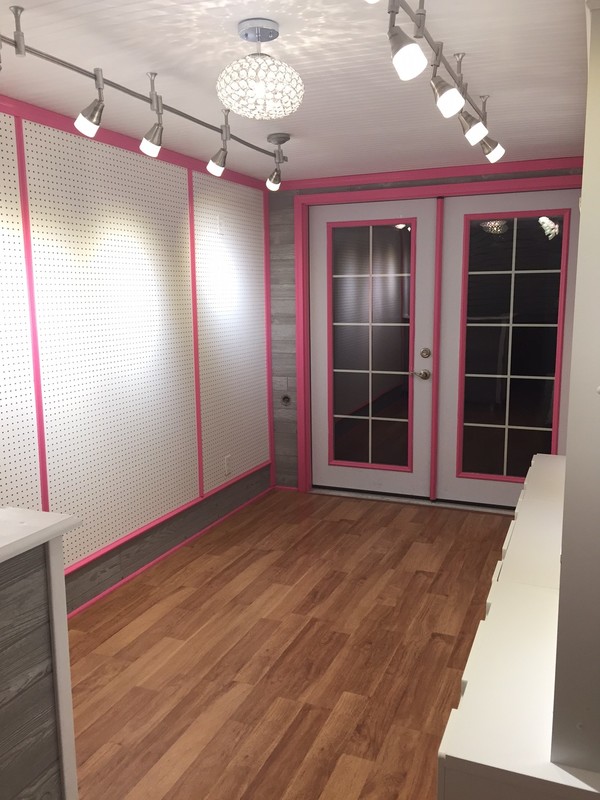
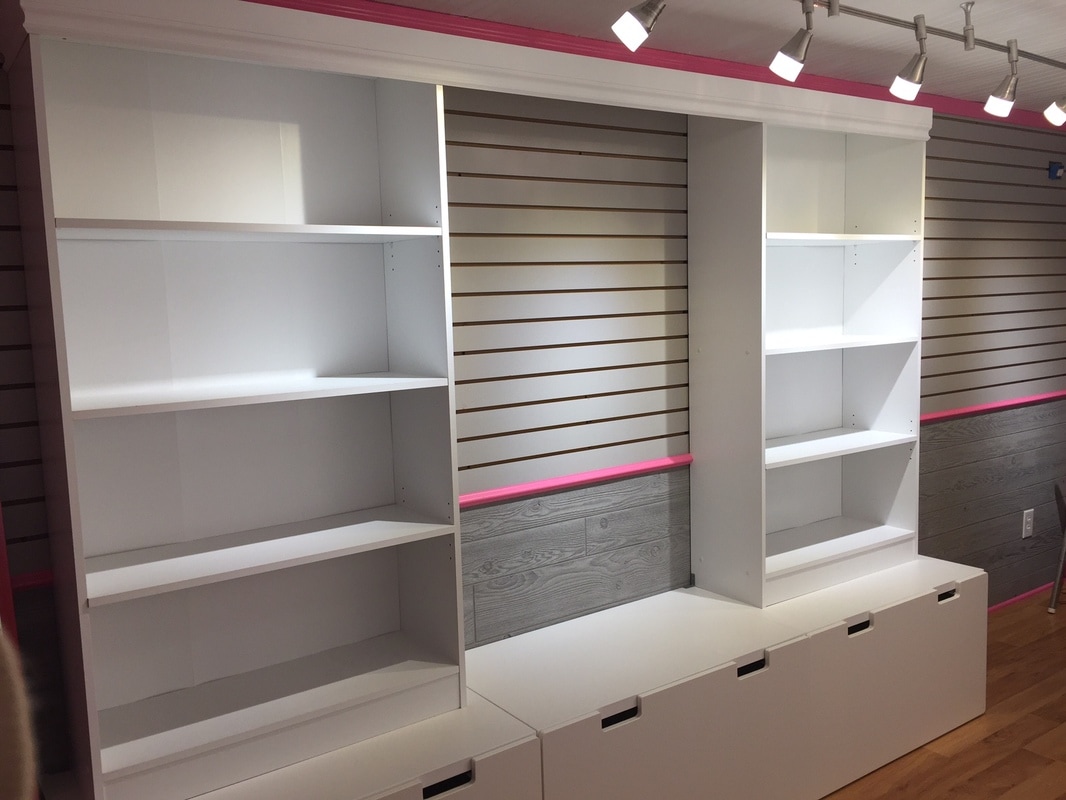
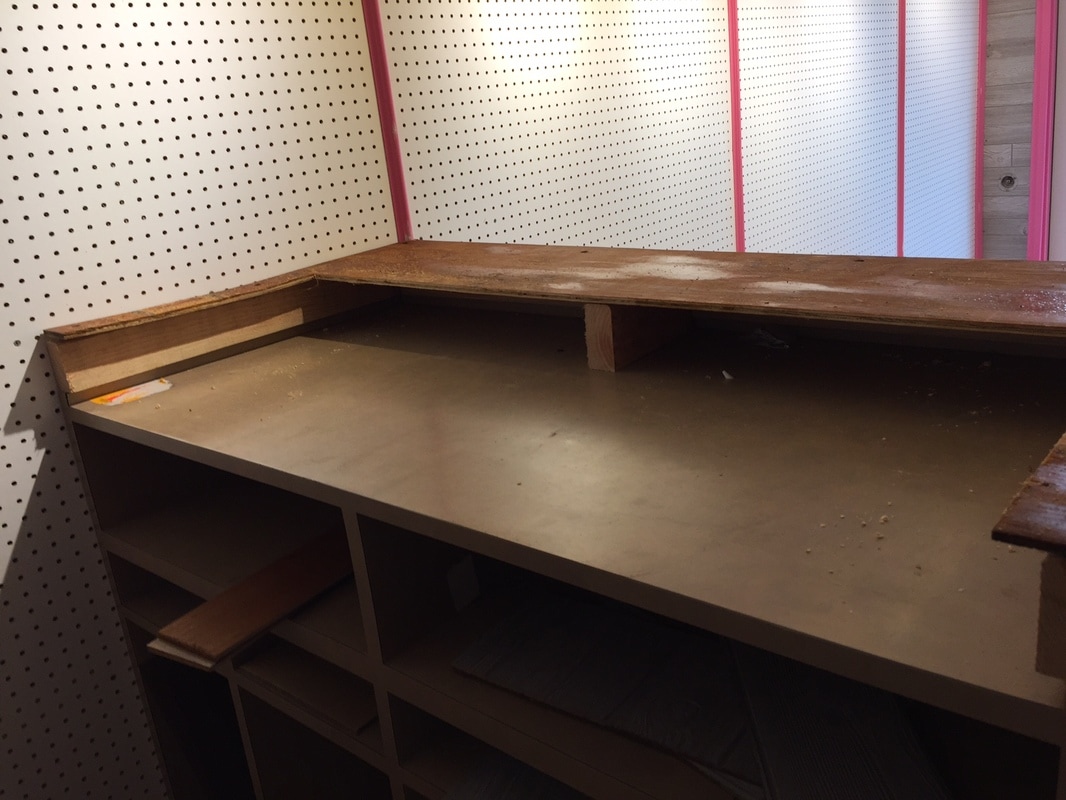
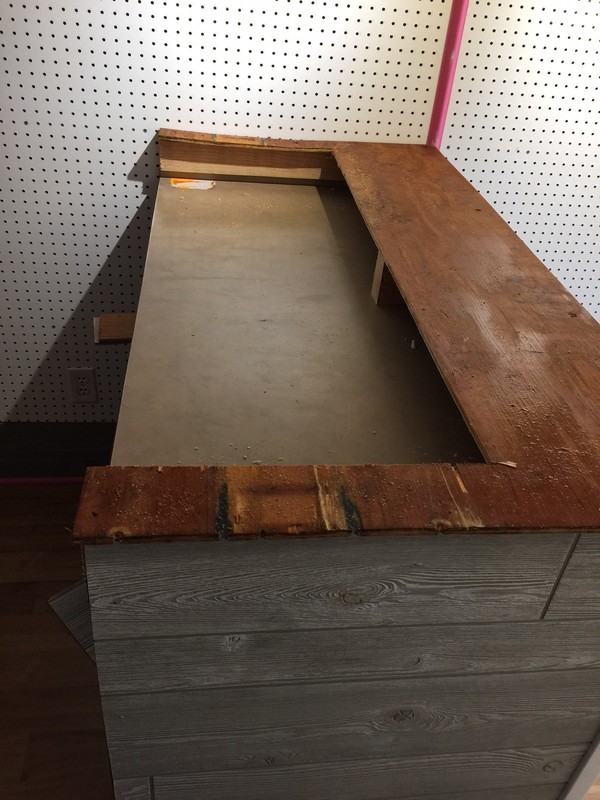
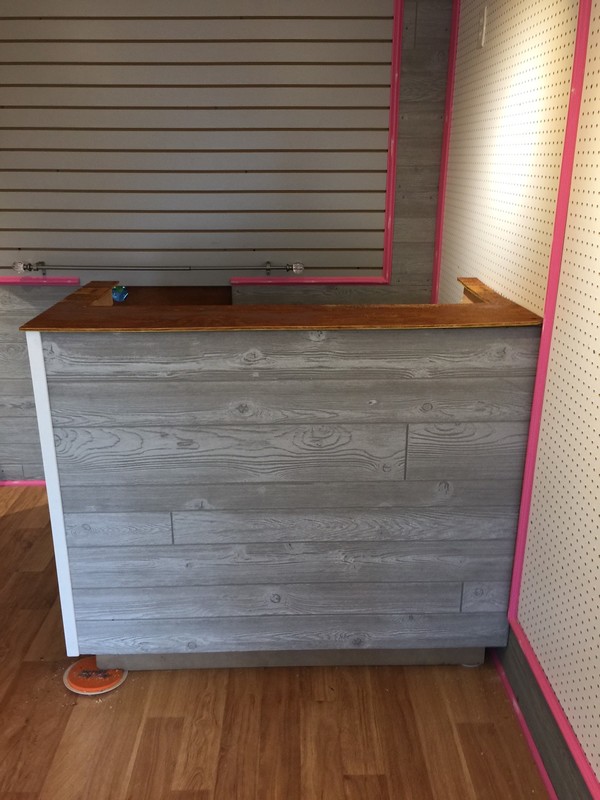
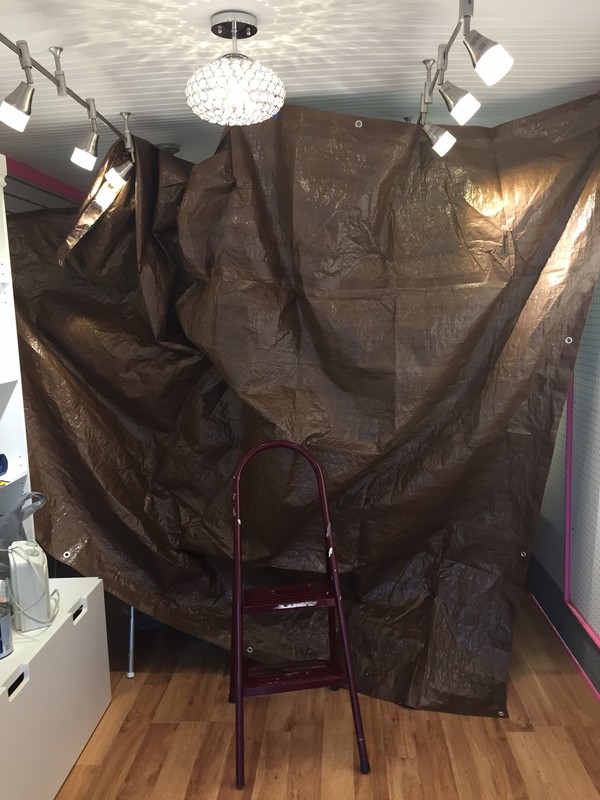
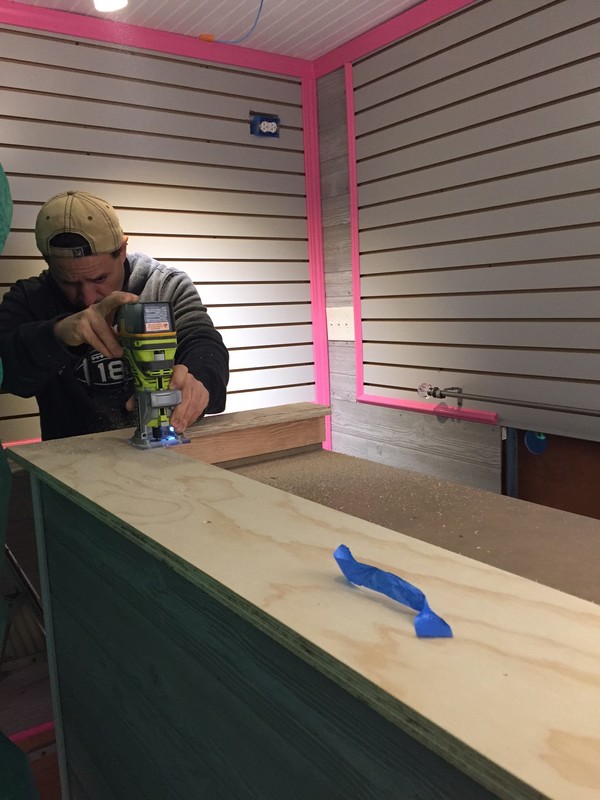
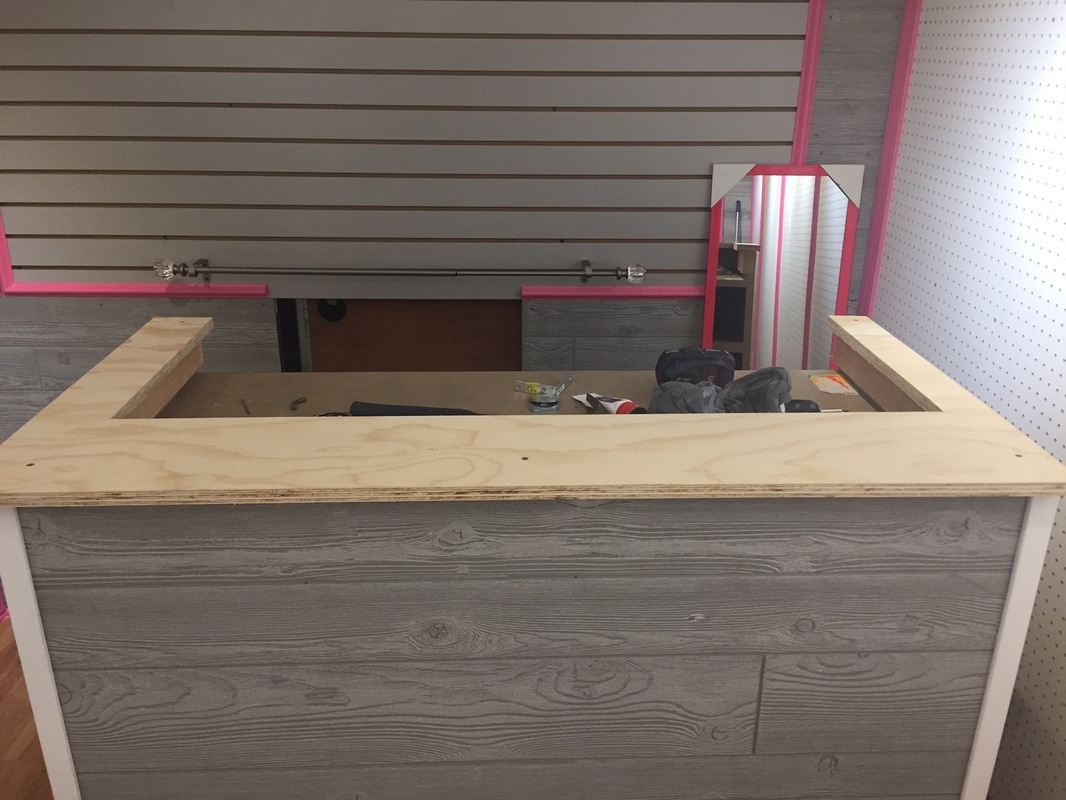
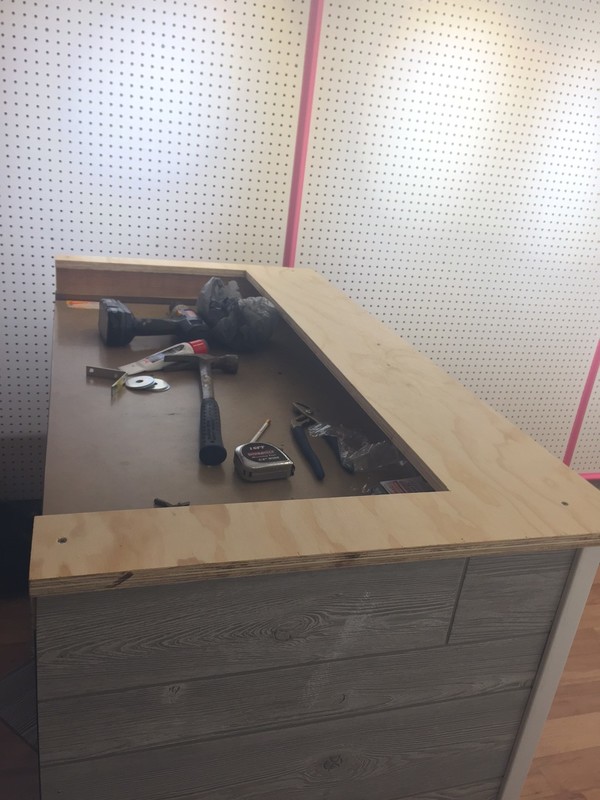
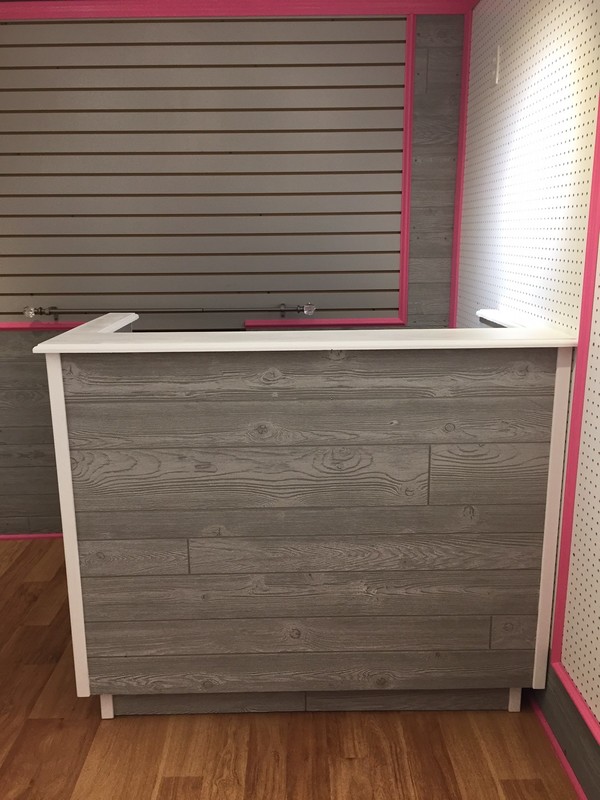
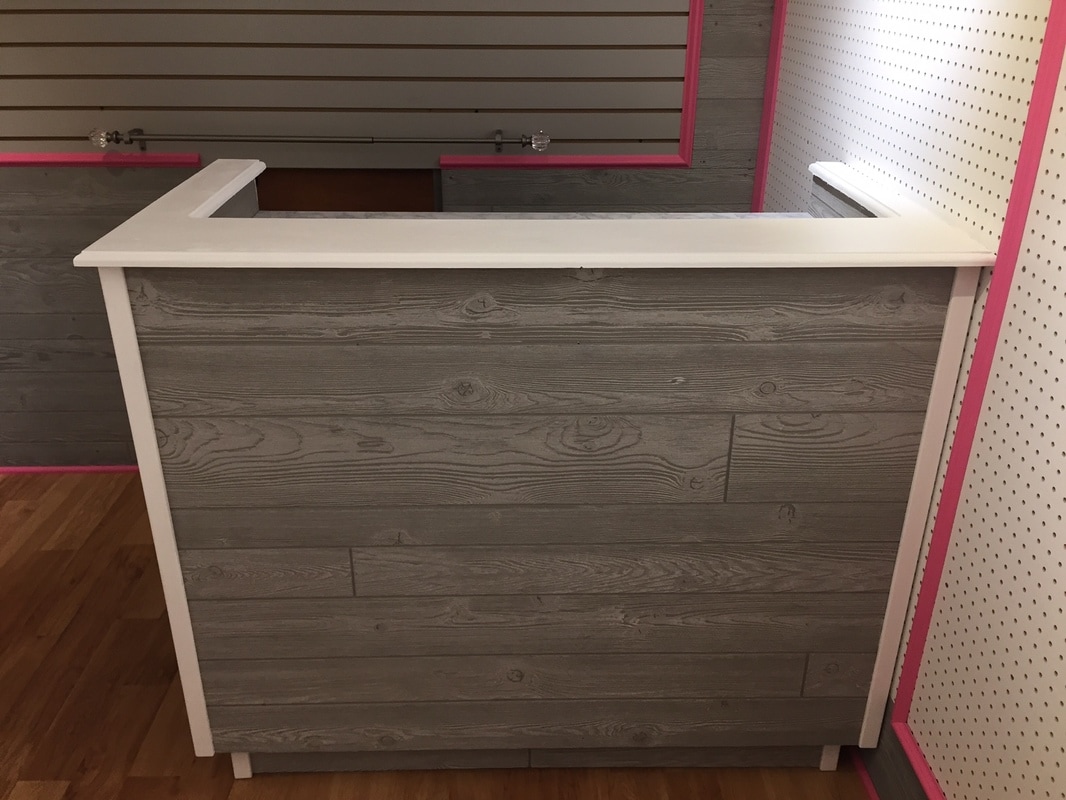
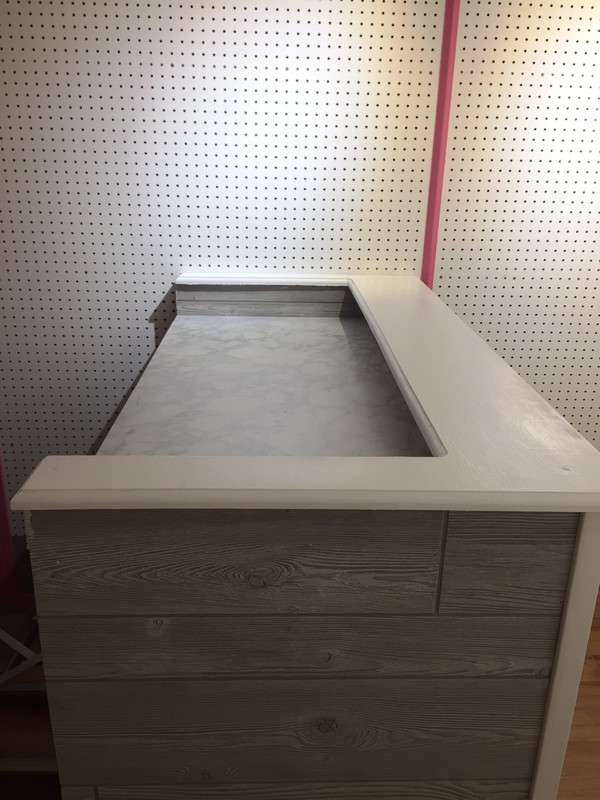
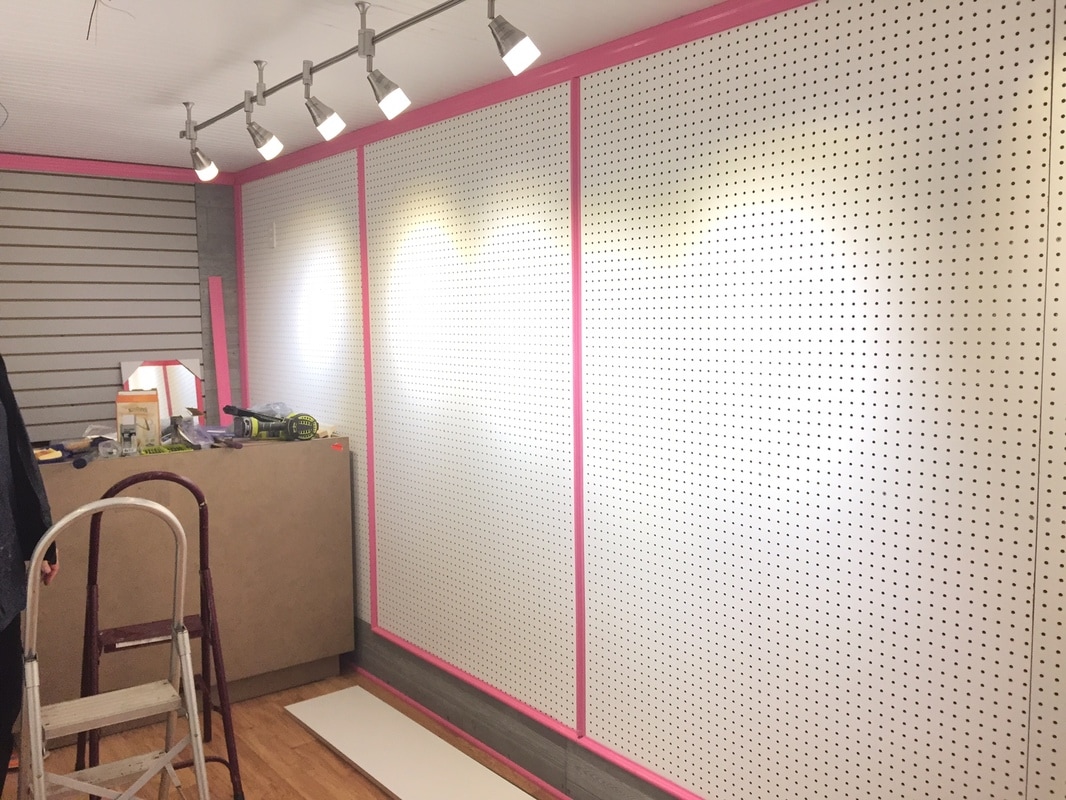
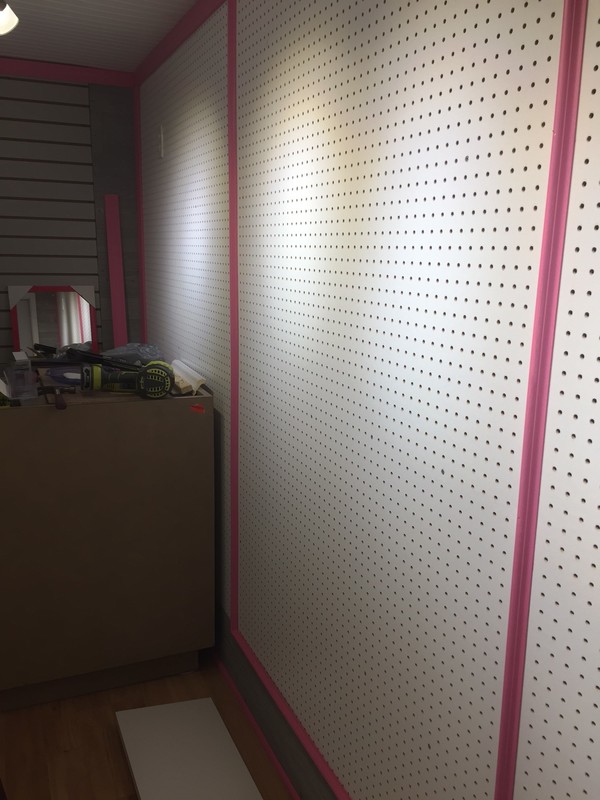
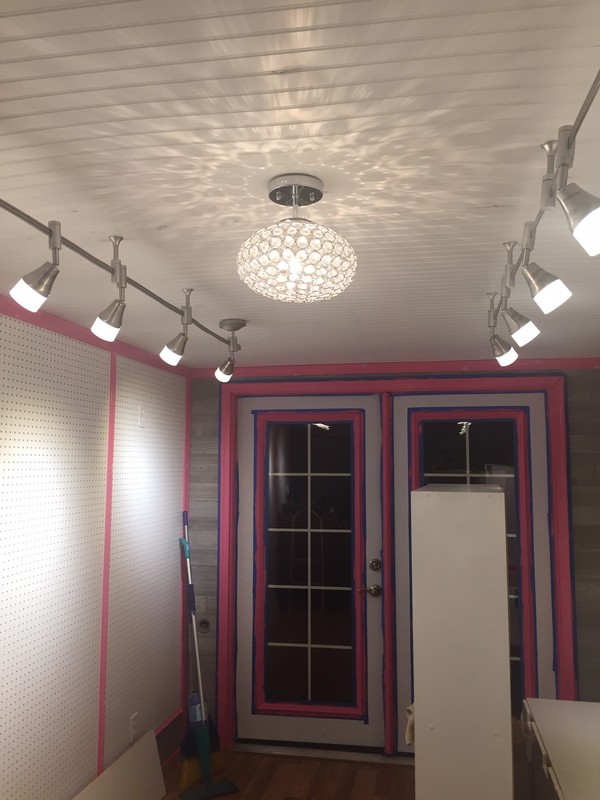
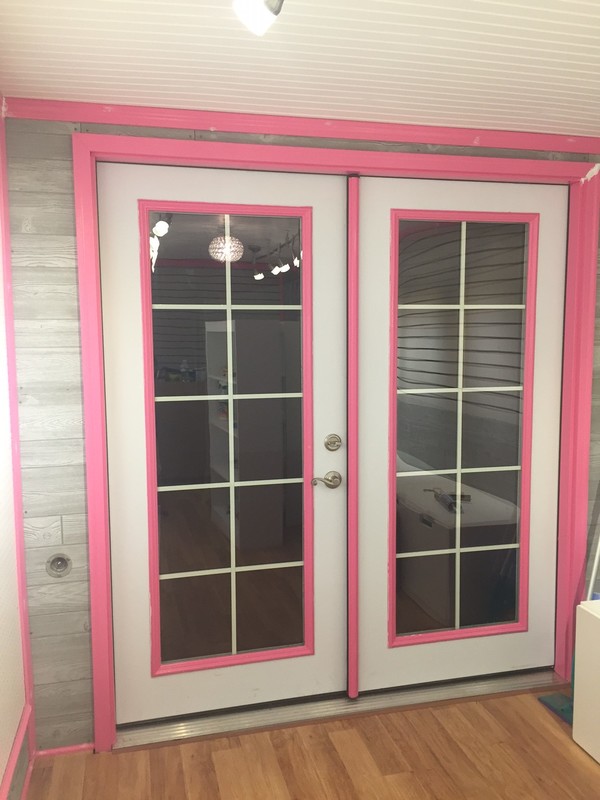
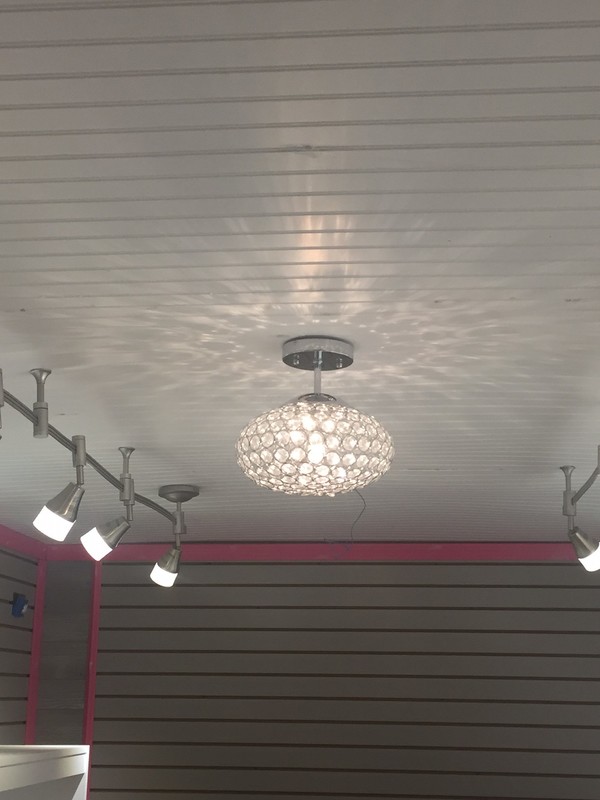
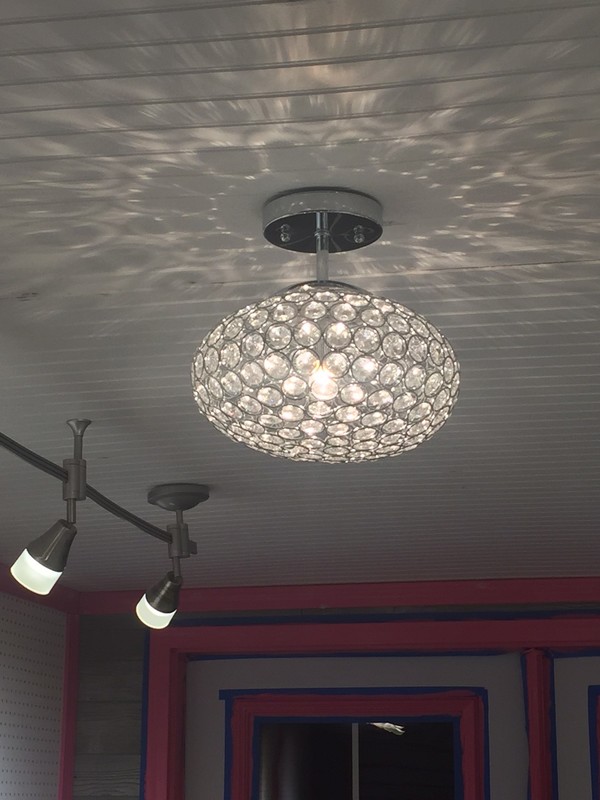
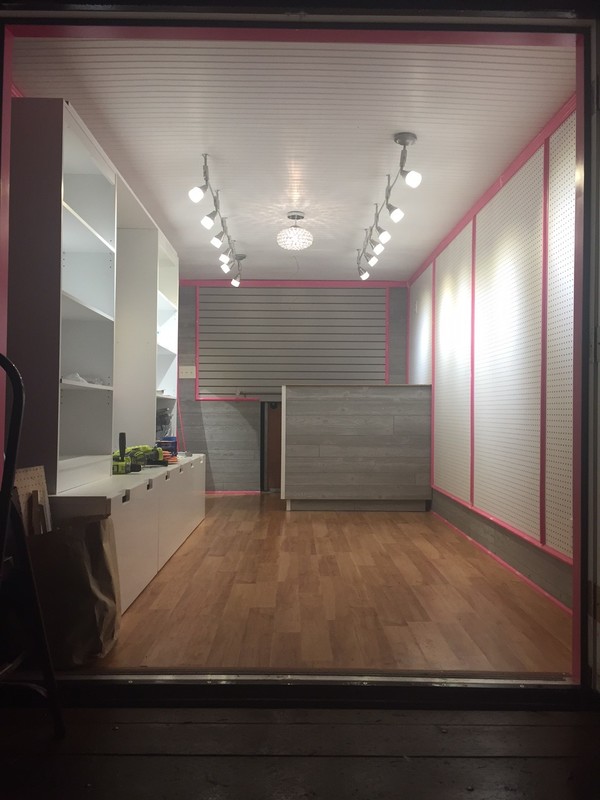
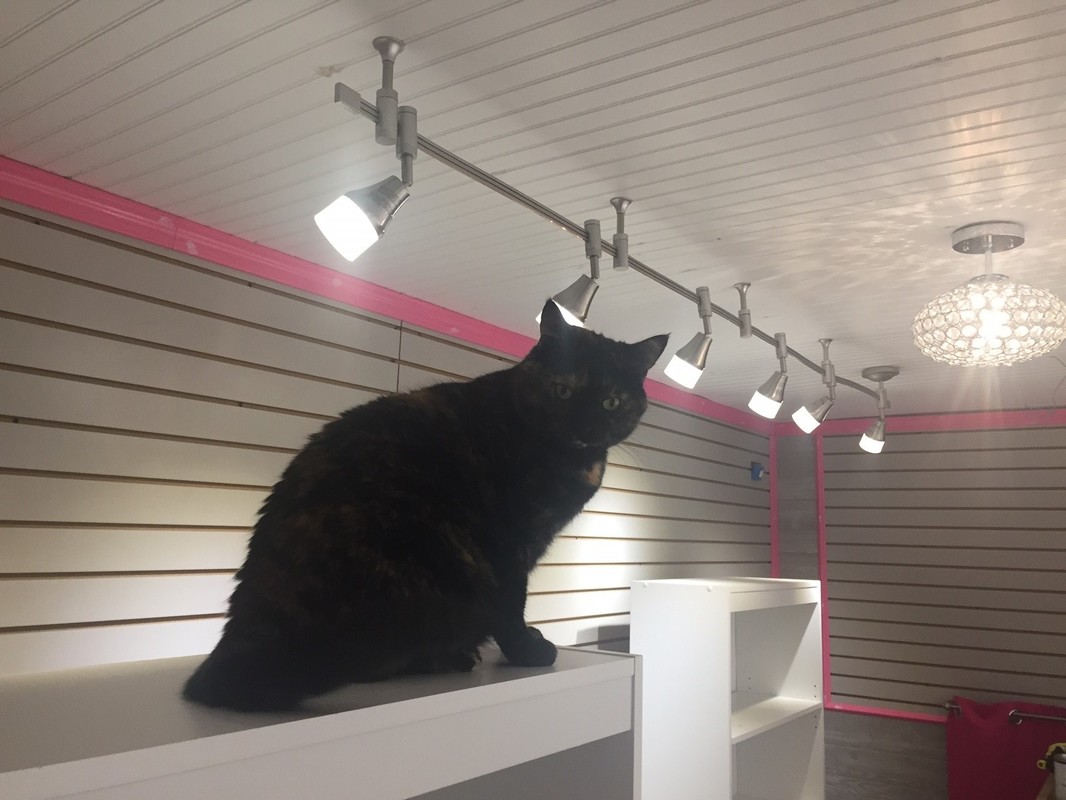
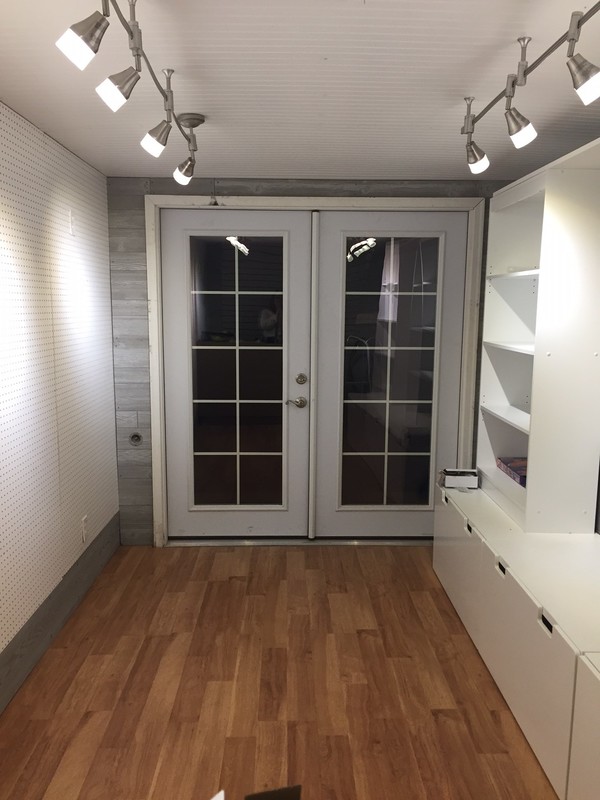
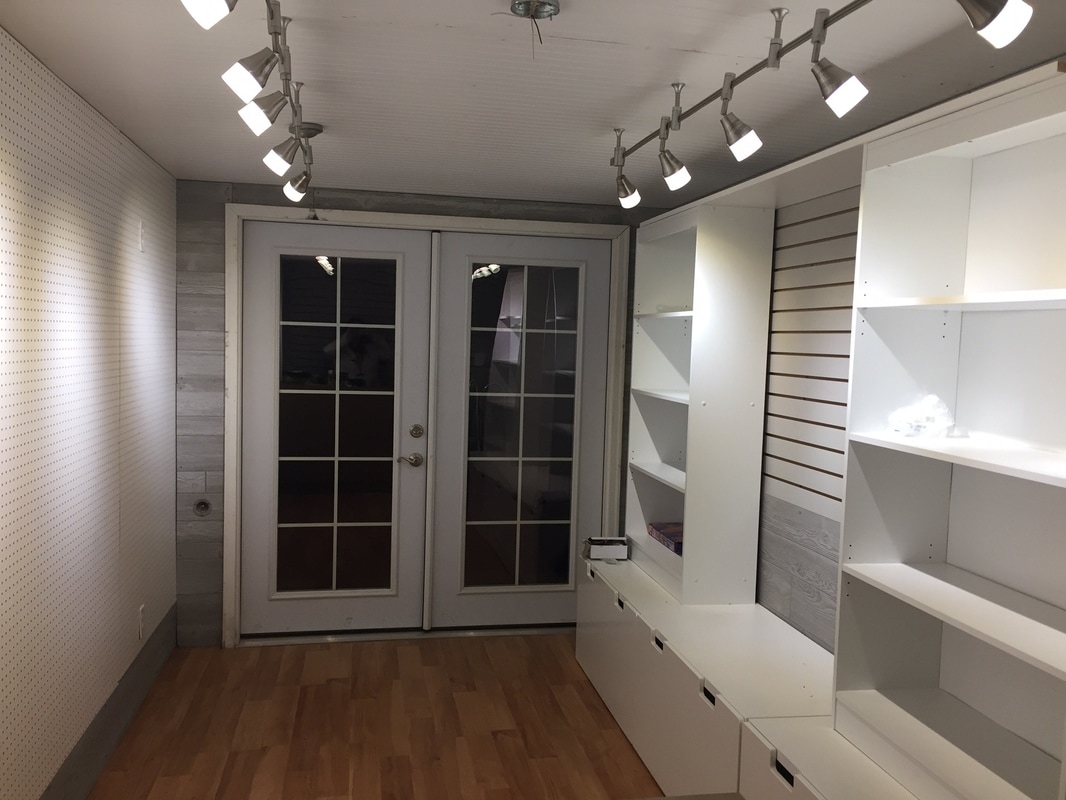
After weeks of tormenting myself with trying to decide which image to use for the graphics on my truck, I think I finally made up my mind...I think! I found a Graphic Designer to recolor the image that I plan to use and I think it turned out really great so he has agreed to design the entire layout for me. He is the Editor & Graphic Designer for a business magazine in Salem so I think he will do a great job coming up with an overall design for the truck. I want it to be fun & whimsical and not too serious. After all, I sell $5.00 jewelry! I don’t want people to be afraid to come in and shop for fear that they can’t afford my product. He is on deadline for the magazine right now so it will be another week or so before he can start work on it, but I can’t wait to see what he comes up with! Then it’s off to the decal guy!  Well my truck passed the driving test so now it’s time for the fun part! Adding jewelry! Sara, one of my team members, and her daughters came over today to help set the pegs and the layout of the jewelry. It sounds like an easy task but it really isn’t! After planning how we would color block 16 different colors in 12ft of space, we began putting in the pegs. As we worked on a layout, we ran into the problem of hitting the wall studs with the pegs. Since we could only go up or down so much to fit all the different styles of jewelry (earrings, bracelets, necklaces, etc.), we had to start over and move all the pegs up one peg hole. Once again, we started putting in the pegs. Then we ran into another stud and had to start over again after rearranging the layout…again. Like I said…it sounds like an easy task, but it’s not! It’s hard to get so much jewelry into this much space and be able display all colors and all styles! Despite the 15 times we redid the pegs, we finally got it set and look how cool it looks! Right now, I have only one of each color & style to set the layout, but soon enough this truck will be full of THOUSANDS of pieces of $5.00 jewelry! It’s a Paparazzi addict’s dream come true! Lol! Well after many weeks of us working on the inside (by us, I mean my Husband…lol!), we are finally done with the build out! We added the trim to the cabinets so that it looks like one unit, we finished the checkout counter and even replaced the outlet covers with brushed nickel ones to match the light fixtures. Larry finished everything off by bolting and securing all of the furniture in place so it is ready to go! Now for a test drive to make sure none of the walls fall off! We are still waiting for the fabricator to install a winch system because the porch is extremely heavy to lift, even with the 2 of us, but we got it up and latched into place for our first test drive. We drove it down the road, over bumps and around curves and corners everything remained in place! Yay! I figure if it can withstand my driving and everything is still intact…we are good to GO! We are getting so close to being done with the inside! Larry is working on refinishing the checkout counter now. We decided to cover it with the same paneling we used on the walls. The gray looks great against the white pegboard. He is also building a custom top for it so after cutting out a pattern with some old plywood, we went BACK to Lowe's to buy good quality plywood to make the custom top. (People are going to think we live there…lol!). I wish we didn’t have to buy an entire 4ftx 8ft sheet of it because it was quite expensive, but it was worth it I guess. So because he is creating a customer top, naturally he needs ANOTHER new tool to do the job…lol. He bought himself a new router to finish the edges of the counter top and I think it made all the difference in the world. It just looks finished with the decorative rounded edges. Boy what a mess that made though! I had to put up a tarp just to keep the majority of the dust it created from covering the entire inside of the truck! I decided to paint the counter top white to offset the gray and pink but I still need to add a protective clear coat to the top so it doesn’t get scuffed up. He also added a little white trim on the corners and then we laid contact paper to the top of the original counter to give it a marble look. I love faux finishes! It gives the luxury look without breaking the bank! I think it looks wonderful! Ugh…ANOTHER setback! We had a really bad windstorm last night and in the middle of the night, it ripped the awning up and tore the hinges off the awning. :( We can get gusts of up to 90mph out here on the Oregon Coast and if it’s not tied down, it won’t survive some of the winds we have out here. I guess we should have dropped the awning, but we thought it was heavy enough that it wouldn’t go anywhere. Guess we thought wrong! So now we have to have the fabricator come out and replace the awning. It was made of wood so we are going to have him make the new one out of metal instead. It will be heavier but sturdier. Am I ever gonna get this thing on the road? Now that the walls are up, it’s time to paint and add the trim! I decided to paint the trim pink to add a splash of color to the stark white walls of the pegboard. It looks great against the gray walls too and just gives it a little interest. Since Paparazzi’s colors are pink & black, I had to incorporate the pink in there somehow! Since the truck isn’t perfectly square, some of the wall panels didn’t quite line up perfectly so the trim will hide any imperfect edges so it is playing a dual role in the design of the truck. However, the trim has proven to be much more difficult to install than we anticipated. There are a lot of pieces and a lot of angle cuts to make to make it fit into the corners. It took a LOT of thinking and planning on how to install it. Of course Larry “needed’ a new nail gun to hang the trim so he got to play with his new toy while installing it. But hey…whatever it takes to make him happy while doing all this work! J And I have to admit, that new toy of his REALLY saved us a lot of time! It was well worth the money. After a few miss-cut trim boards later, and a couple more trips to Lowes for new boards, we finally got all the trim hung. A couple of boards were cut at the wrong angle here or there, but all in all, it turned out pretty good! I also found my chandelier and Larry installed it for me. I love it. I love the light pattern that it gives off and it looks just fancy enough but not too fancy! It was kitty approved! Whoo hoo! We have lights! Larry installed the track lights today and they look great! We went with 6’ lights to cover the majority of the merchandising space in the truck. The lights can be positioned to highlight areas as needed so they should supply enough light for everything. I am still trying to decide on a chandelier for the center light. I want something pretty but not too fancy. I can’t believe how expensive lights are! Holy cow! The darn track lights were $135 EACH! Chandeliers are close to $100 for a small one and they just go up from there. Thankfully, I only need a small one because of the space I have to work with so we should be able to go with a less expensive one. I have to make sure it doesn’t hang too low because the ceilings are not very high in the truck. I sure don’t want people bumping their heads on my pretty lights! |
AuthorMy name is Colleen and I am a Paparazzi Accessories Independent Consultant. I am an entrepreneur at heart and I'm ready to take my Paparazzi Business MOBILE! I will be bringing the Paparazzi Party to YOU! Archives
August 2018
Categories |


 RSS Feed
